Installing a WordPress testing server: part 1 XAMPP
 So you want to develop WordPress sites? Since WordPress runs on PHP and MySql, chances are you don’t have those installed and running on your local machine. So a good place to start is installing a local testing server.
Today is part 1 of 4 in this series.
- Part 1 covers XAMPP
- Part 2 covers Easy install: Bitnami WP install
- Part 3 covers Multiple or Manual installs: PhpMyAdmin for WordPress
- Part 4 covers Multiple or Manual installs: WordPress proper.
I will be using windows, but the steps for Mac are very similar.
The first thing you want to do is download XAMPP from https://www.apachefriends.org/download.html. I recommend that you check your MD5s and SHA1s, and if you don’t know how to do that, I made a post on it. If you’re going to use my post, I recommend doing it the secure way not the eyeballing way. As this is a program that needs high verification, since it turns your machine into a server. And the security risks can be incredible if it has a virus or is hacked.
Once you have the download, open up the download.
You might get a pop up like the following if you have antivirus running:
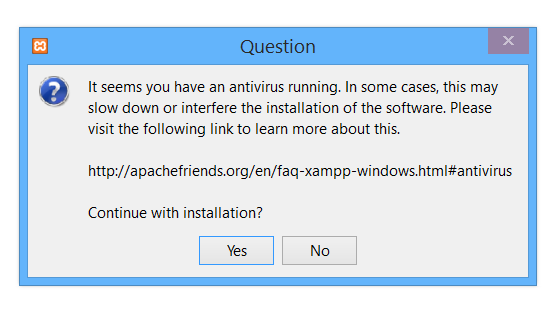
You can either disable your antivirus for the install (ONLY AFTER YOU VERIFIED IT WITH MD5) or you can click “yes.” Then you’ll come to the next screen.
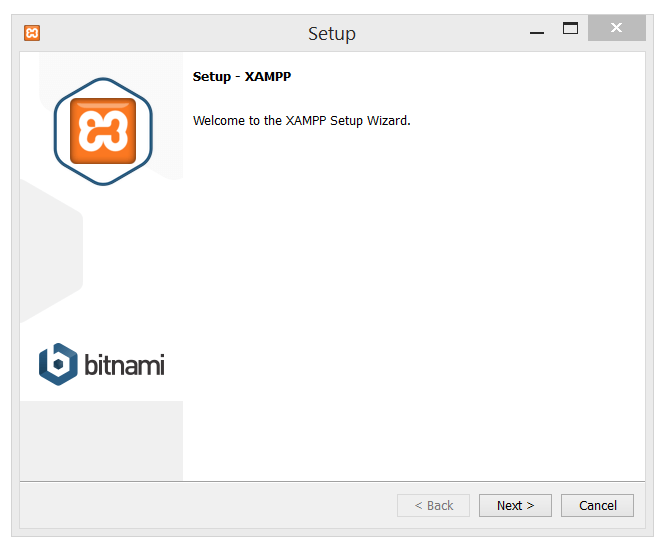
Click next.

Here I recommend leaving everything checked though for a testing server you don’t really need the FileZilla, Mercury or Tomcat. Those three I just leave checked so I can use them if I ever want to, without having to install them.
The things you must have checked are:
- Apache
- MySQL
- PHP
- phpMyAdmin
- Fake Sendmail (I’m pretty sure you need this to test any mail functions of WP).
Then click next.
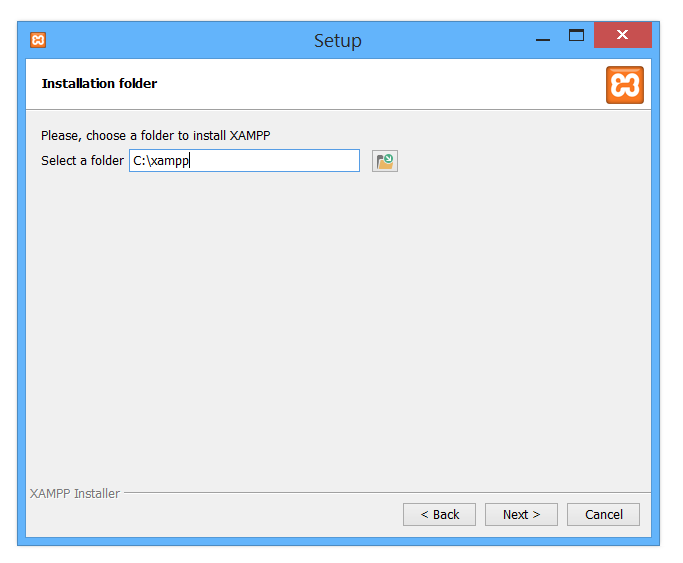
Select your installation folder and then next.
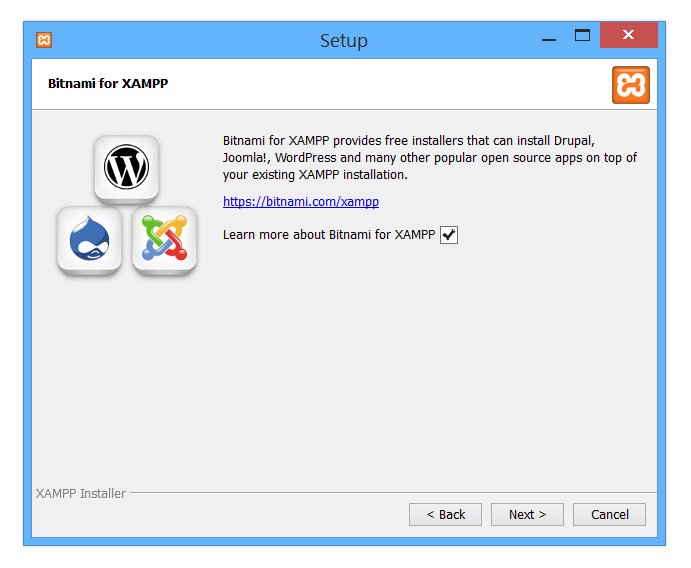
You can then click the link to Bitnami if you want a preview of part 2. https://bitnami.com. Click next.
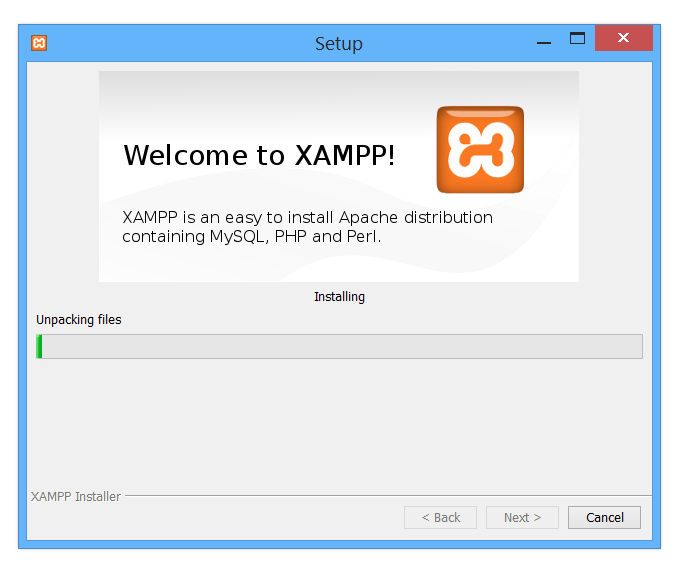
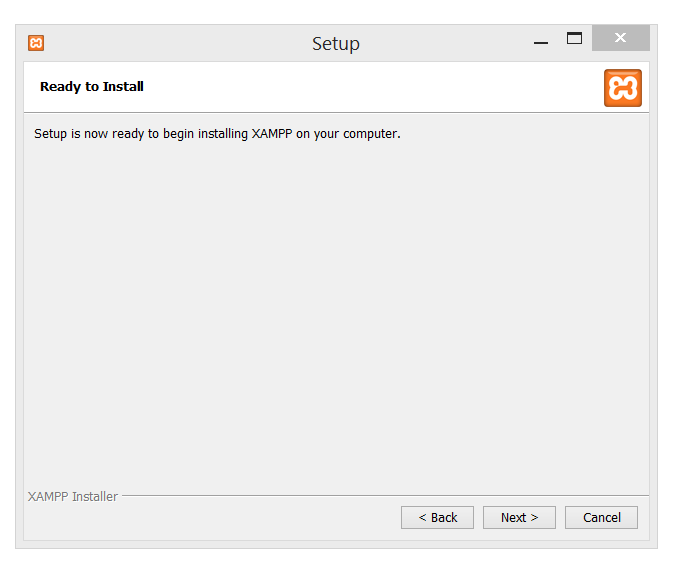 Now you are ready to install. Click next and let it do its magic.
If you get the following firewall/Windows Firewall Security Alert:
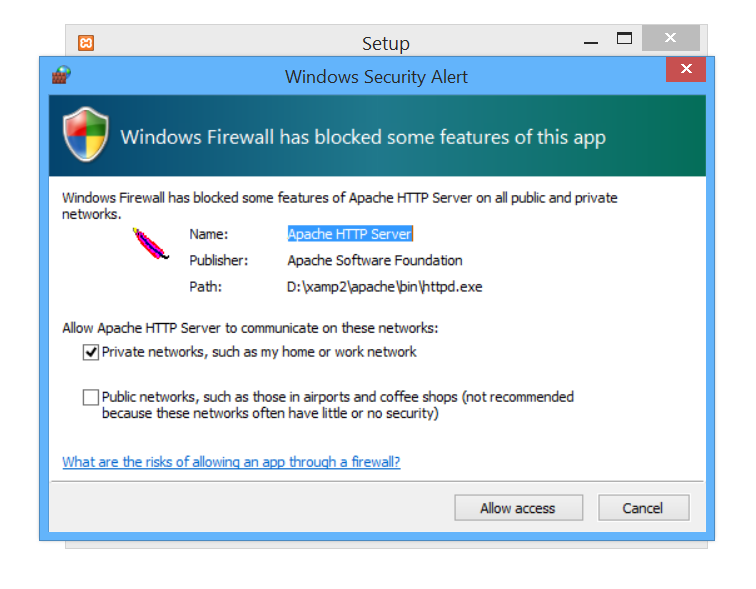
Check private networks and allow access.
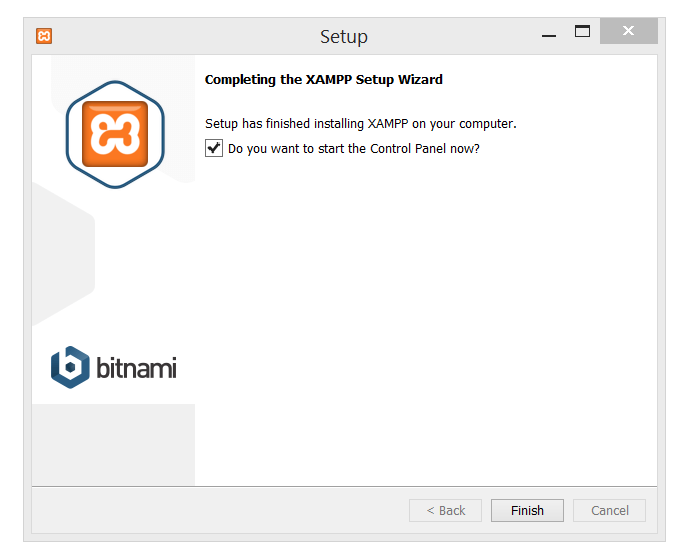
If everything goes well you should see this screen. Make sure the checkbox is checked and then click finish.
You should now see this:

If so, test starting your Apache and MySQL servers by clicking Start. and seeing them load.
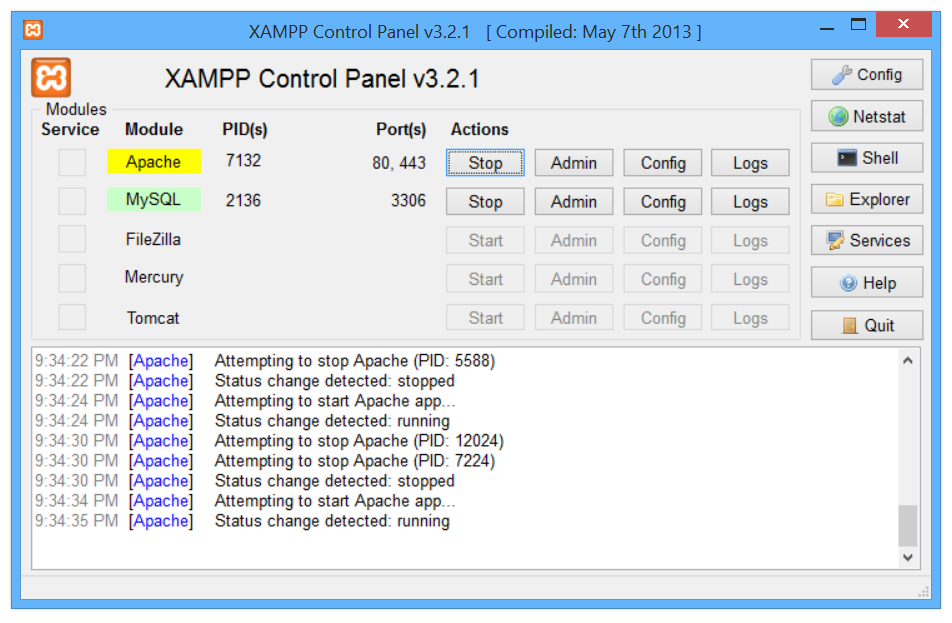
While it’s loading it will be yellow like Apache above. When it’s loaded it will be green like MySQL above.
If you get a firewall popup like the one earlier, make sure it’s set to private and then allow.
That’s it for the first step! Congratulations!
- Part 2 covers Easy install: Bitnami WP install
- Part 3 covers Multiple or Manual installs: PhpMyAdmin for WordPress
- Part 4 covers Multiple or Manual installs: WordPress proper.
What do you think, was it easy? Did you get any weird errors?
[…] Part 1 covers XAMPP […]
[…] Part 1 covers XAMPP […]
[…] Part 1 covers XAMPP […]