Installing a WordPress testing server: part 2 Bitnami
![]() Today is part 2 of 4 in this series.
Today is part 2 of 4 in this series.
- Part 1 covers XAMPP
- Part 2 covers Easy install: Bitnami WP install
- Part 3 covers Multiple or Manual installs: PhpMyAdmin for WordPress
- Part 4 covers Multiple or Manual installs: WordPress proper.
Today, we’ll go over the easy install of WordPress on your local server which we installed yesterday. I will be using, but again this should be similar on Mac/OS x.
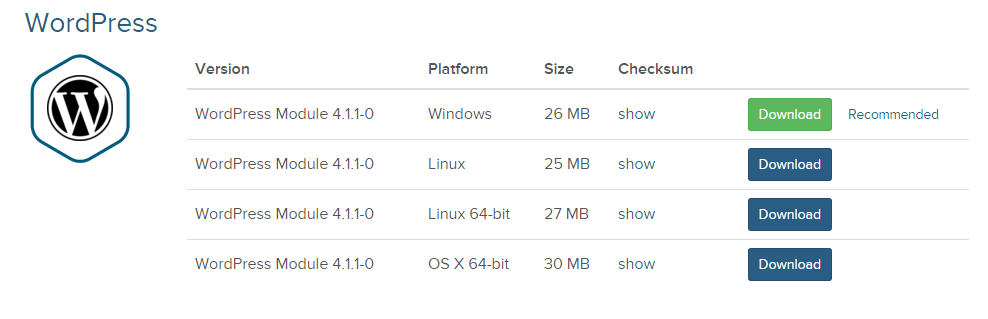
First download Bitnami’s WordPress module.
You can choose to login using your Google, Yahoo, Facebook or GitHub Account.
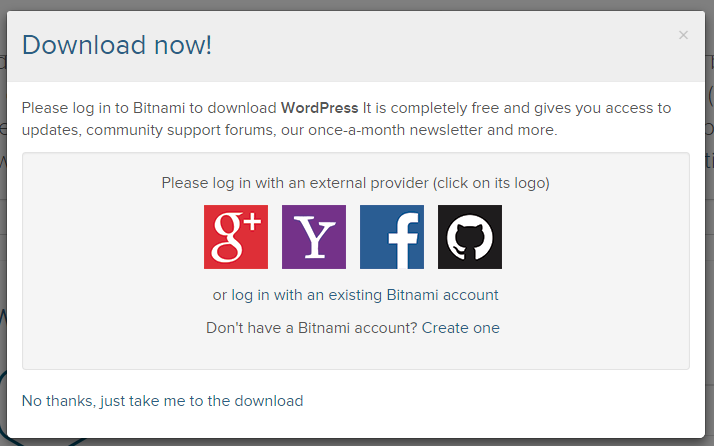
This will allow you access to the Bitnami community, but you don’t have to login. You can instead click “No thanks, just take me to the download.” Your choice.
It should then start downloading. Once downloaded, check your checksums to verify the file.
Once verified, open the installer.
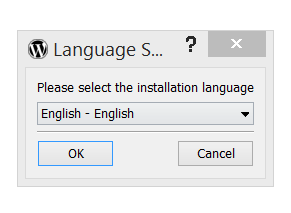
Select your language. Then Ok.
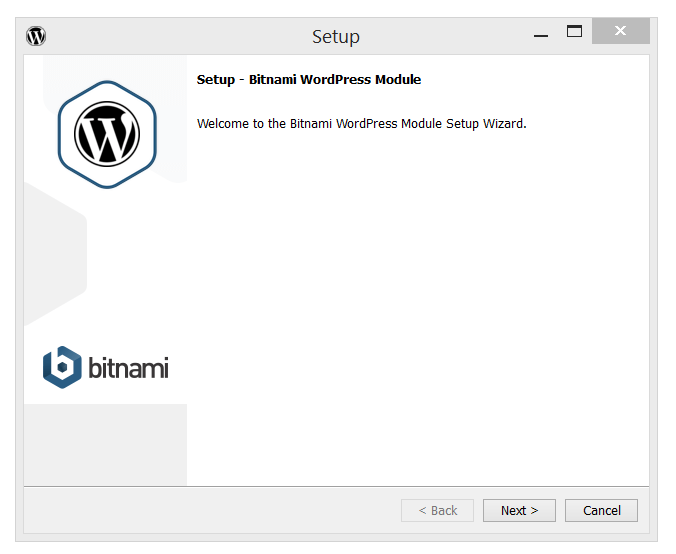
You should then see this page, which you click next on.
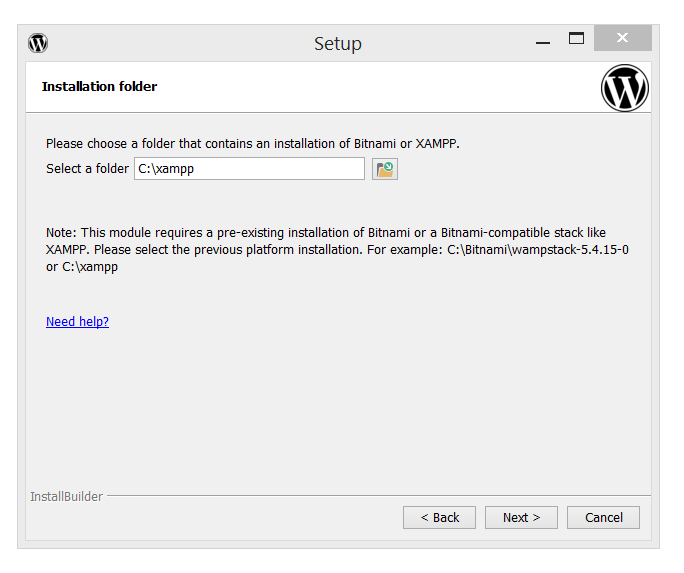
On this page select the folder that includes your XAMPP installation. The Xampp default is C:\xampp. Then click next.
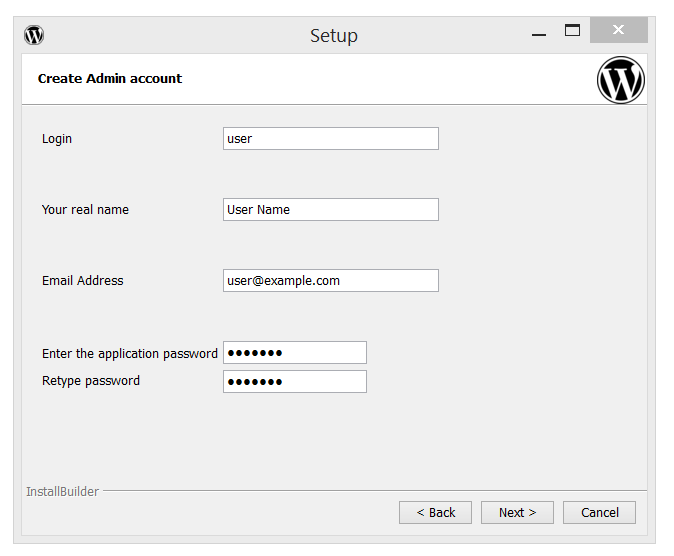
Here, enter a username and password (which you will have to remember). Fill out the rest, especially the email address as it makes it easier to recover your password if you forget it. (If you don’t, it’s not that big of a deal, just takes a few more steps). Then click next.

You can now change your blog/site’s name and then click next.
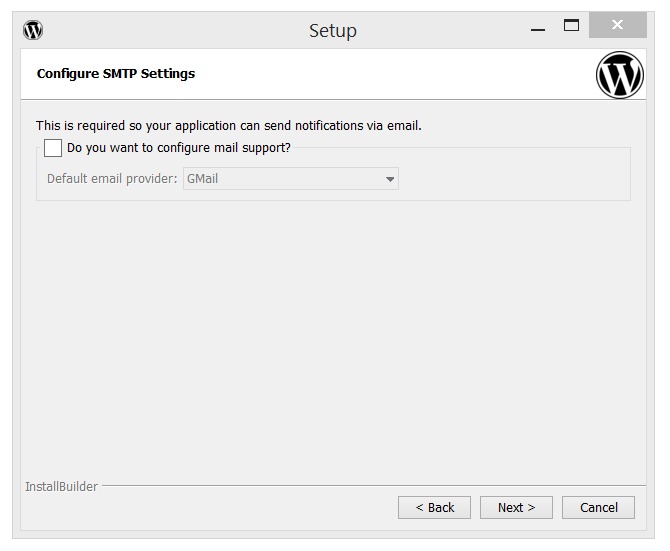
On this page, you can configure a different mail server other than Fake Sendmail which we installed yesterday. I recommend not doing that since this is a testing server and we don’t need it. So leave it unchecked and click next.
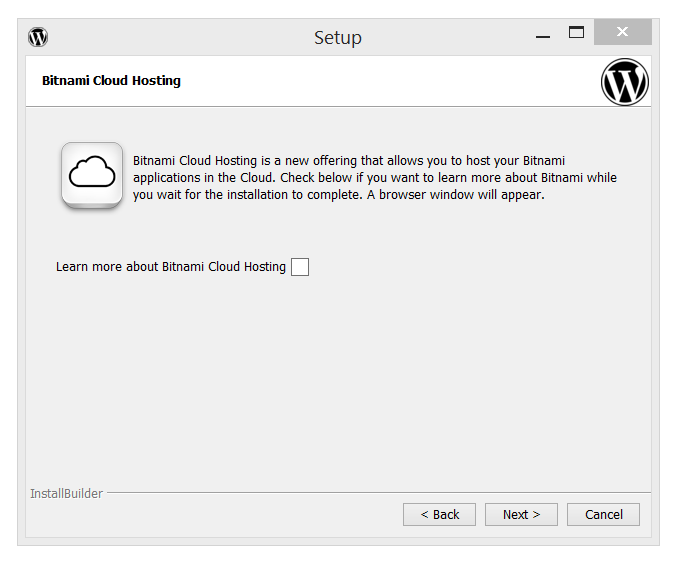
You can check or uncheck the question to read about Bitnami’s hosting. We’ll uncheck it and click next.

And finally we’re ready for it to do its magic. Click next.

The installation should only take a 2-5 minutes. And when you’re done you should see the following.
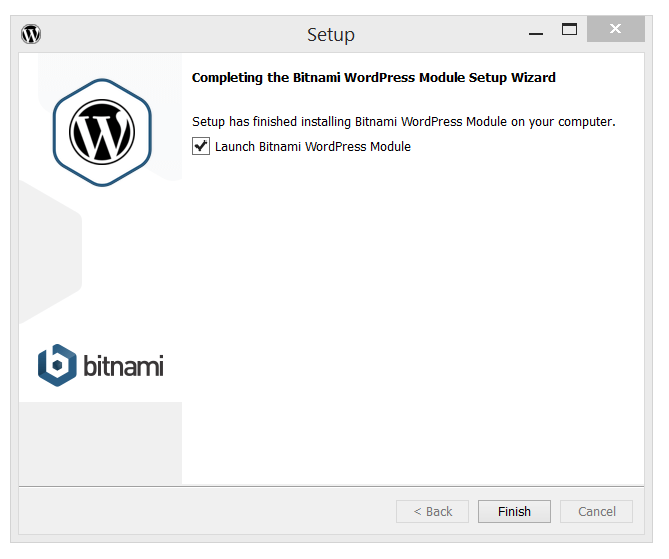
Leave Launch checked and click finish.
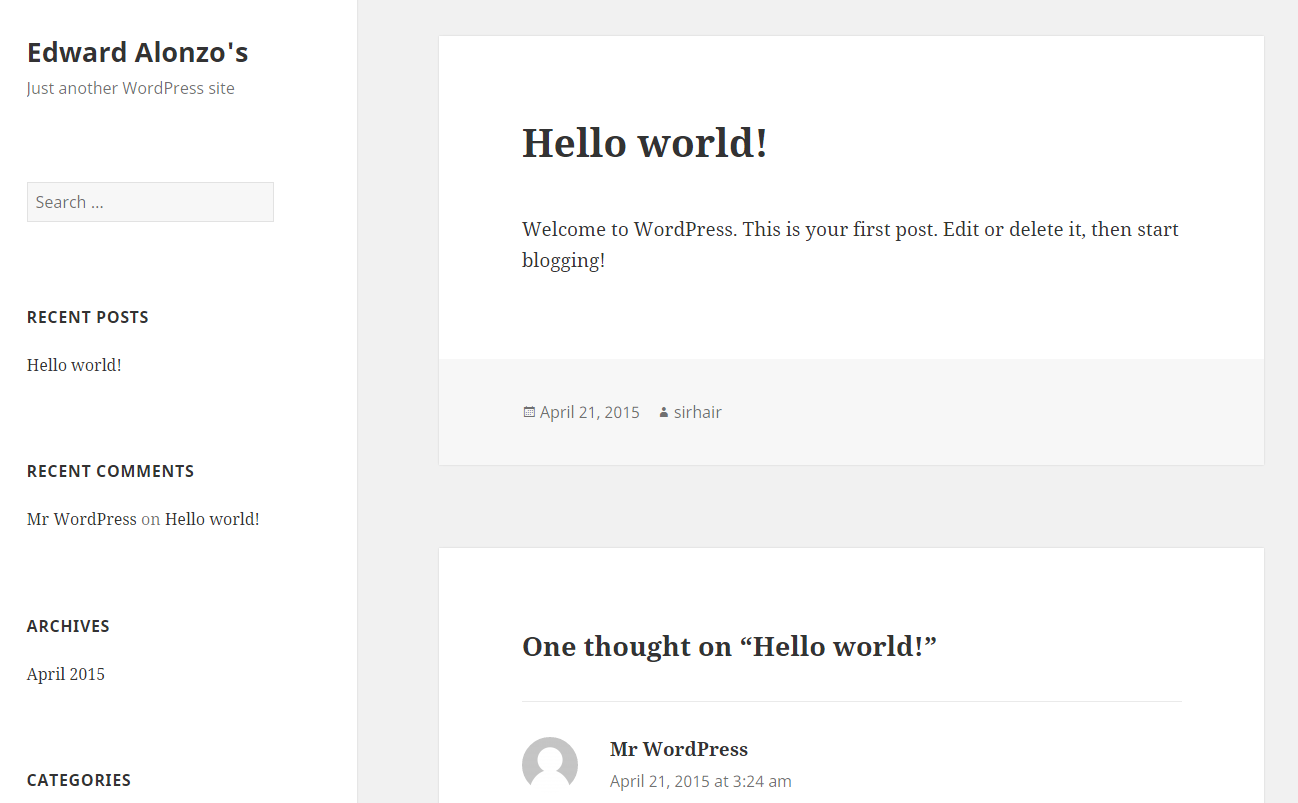
You should then see your WordPress page appear. I’m pretty sure that it auto starts your xampp server/MySql. But if you see an error page in your browser, open up XAMPP and start Apache and MySql, then reload the page and it should all work.
Also it looks like the default installation location is : http://127.0.0.1/wordpress/. But either way bookmark your site so you can return to it later.
To log into wordpress go to http://127.0.0.1/wordpress/wp-admin or if your site has a different root, add “/wp-admin” to the end of it. Then you can login with the user/pass that you created during setup.
That’s it, quick and easy.
- Part 3 covers Multiple or Manual installs: PhpMyAdmin for WordPress
- Part 4 covers Multiple or Manual installs: WordPress proper.
Is this your first time developing a blog? What are you going to blog about or develop a site for?
[…] Part 2 covers Easy install: Bitnami WP install […]
[…] Part 2 covers Easy install: Bitnami WP install […]
[…] Part 2 covers Easy install: Bitnami WP install […]