Installing a WordPress testing server: part 4 WP

Today is part 4 of 4 in this series.
- Part 1 covers XAMPP
- Part 2 covers Easy install: Bitnami WP install
- Part 3 covers Multiple or Manual installs: PhpMyAdmin for WordPress
- Part 4 covers Multiple or Manual installs: WordPress proper.
Today is the final part of our series and continues where we left off from part 3. So grab your notes that you saved and let’s get started. Again, I’m using windows but this part is definitely identical whatever platform you’re using. Also, make sure you have your Xampp Server on and running apache and MySql.
The first thing you need to do is download the latest version of WordPress from https://wordpress.org/download/. (It is 4.1.1 as of this writing. )
Next, open up your wordpress zip and extract it to your desktop.
You should now have a wordpress-#.#.# folder on your desktop open it up.
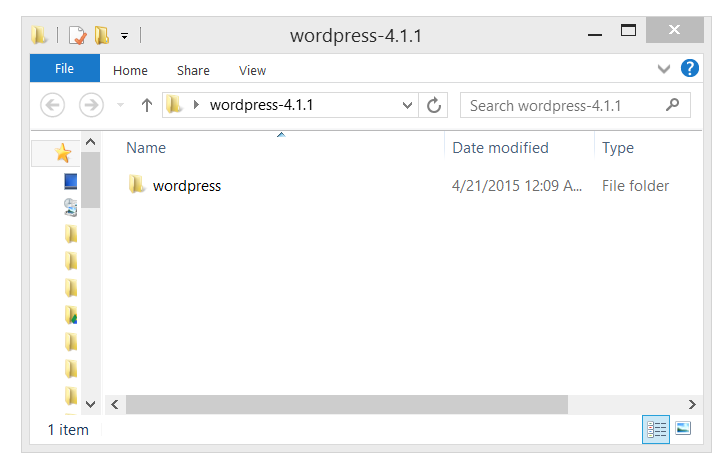
If this is your first install, no need to change the name of the wordpress folder inside it. But let’s say it is your second installation. Then you need to change your name. I’m going to change the name to “newblog” something easy that I can remember.
Next you need to locate your xampp/htdocs folder (the default is usually c:/xampp/htdocs).

And then drag your “newblog” folder into your htdocs.
Then your htdocs folder should look something like this: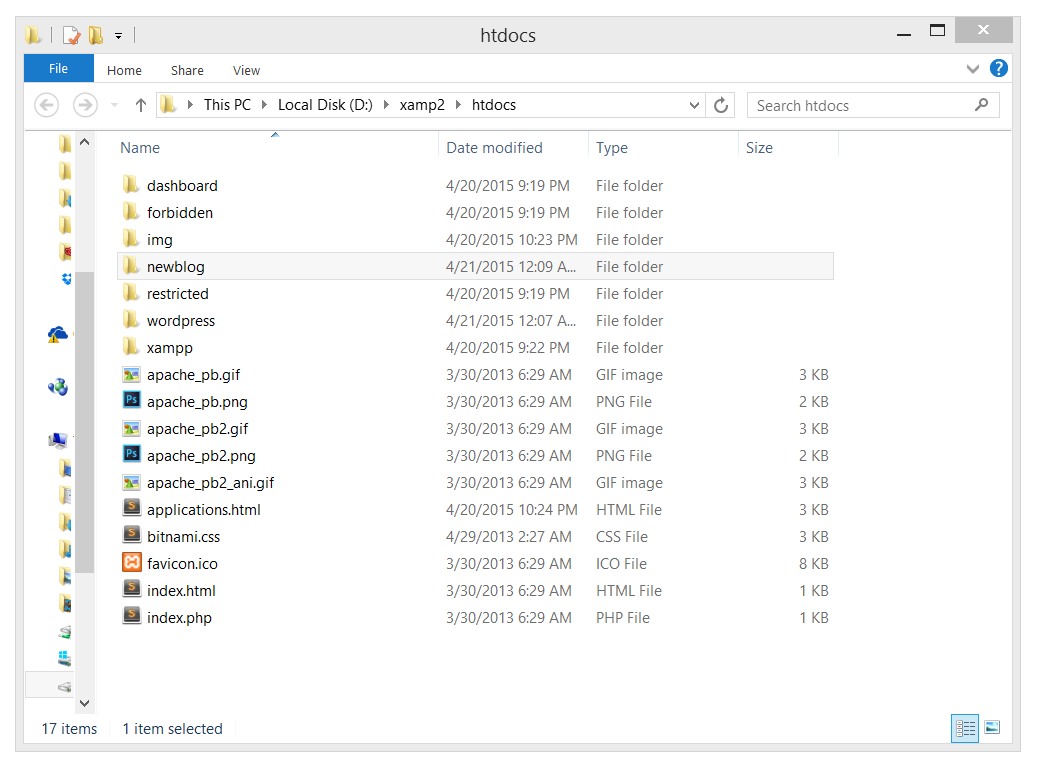
Then open up your browser and go to: “localhost/newblog”. Where you replace “newblog” with the name of your site folder. In my case: localhost/wfp.
Doing so should redirect you to a page that looks like this:
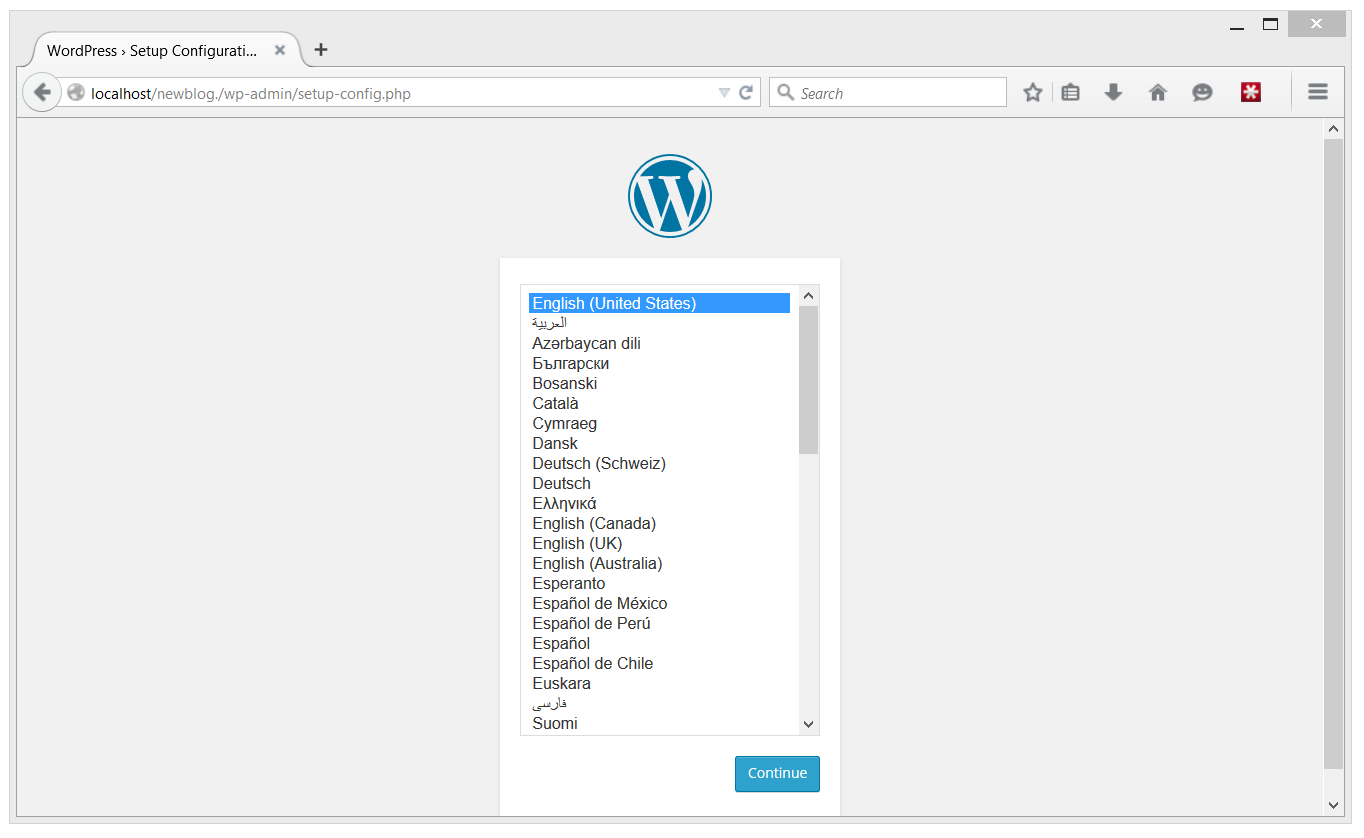
Select your language and click continue. On the next page it will show a list of things wp needs to start.
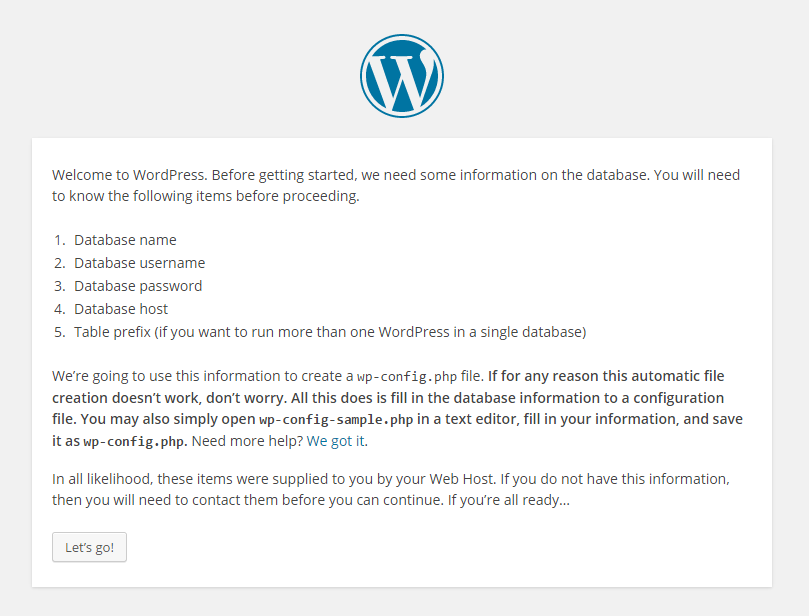 You should have everything you need from lesson 3.
Click “Let’s go” and you should now be at:

For the first three, enter the information that you saved from part 3.
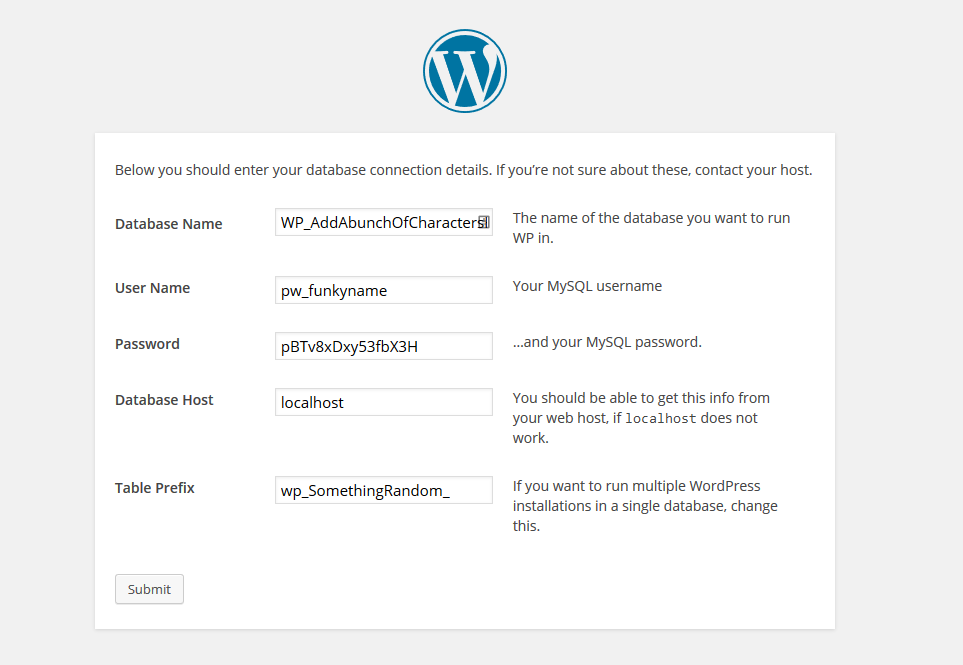
For database host, use “localhost” and for table prefix enter “wp_” followed by something random followed by a “_”. You probably won’t ever see that again and if you ever need it you can look in your wp-config file for it. But it is important that it is not the standard, as this will help with the security of your install. Click submit and you should get:

If you don’t get it, then try the steps again.
Click run the install.
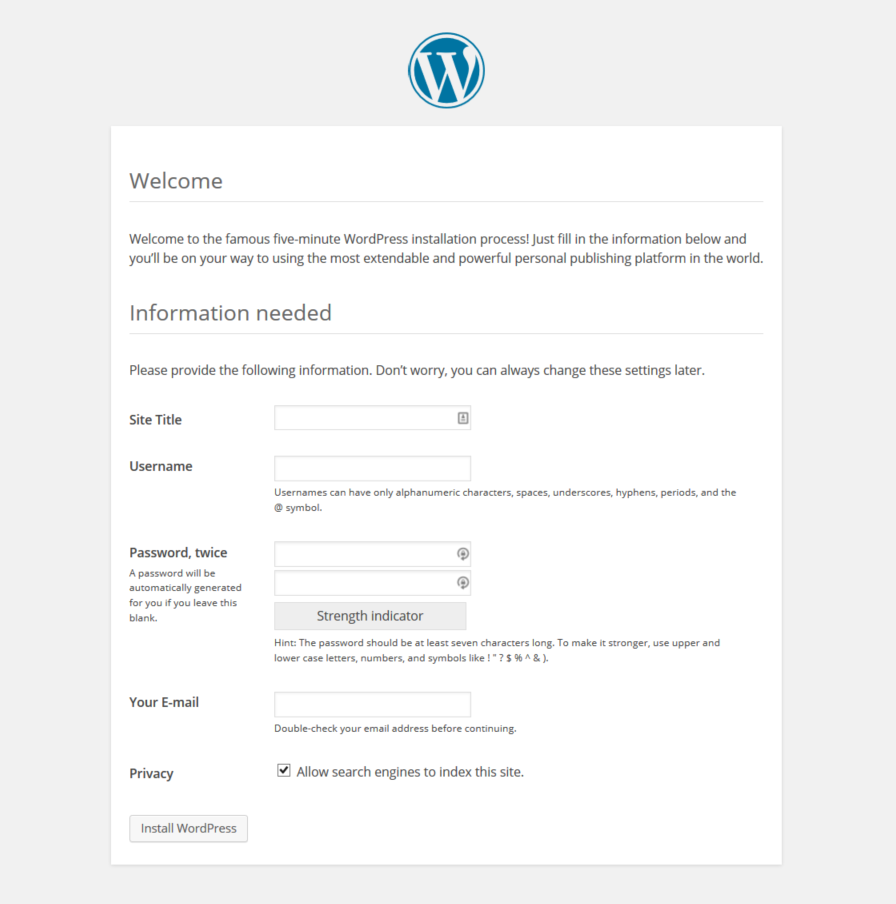
Here, enter your site title, a username and password that you will remember, and your email for password recovery.
Since this is a local install, you can uncheck “allow search engines to index..” But I recommend leaving it checked, because if you migrate from a local machine to a live website, you won’t have to remember to check it back on.
Now click install WordPress once you have the page filled.
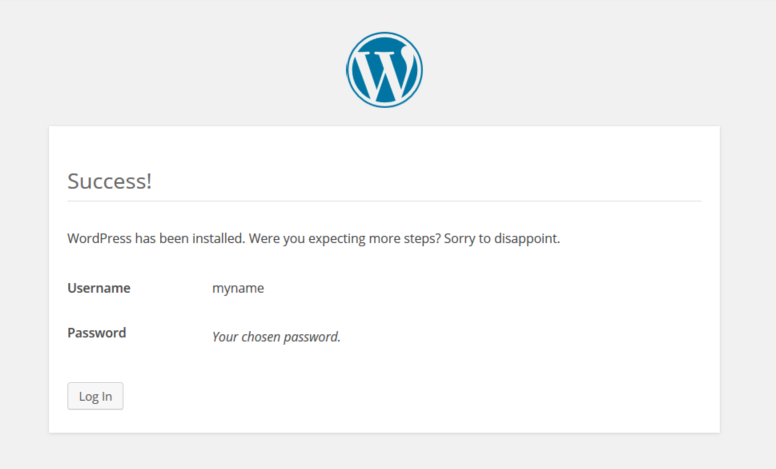 And voilà you are done!
Feel free to login and play around.
So what do you think of my 4 part series? Was it helpful? Is there something that I didn’t cover that you wish I had?
[…] Part 4 covers Multiple or Manual installs: WordPress proper. […]
[…] Part 4 covers Multiple or Manual installs: WordPress proper. […]